Editor How-To
Setting up Grid View
Grid View is a new tool to enable users at your organization to update data across multiple records. Setting up a form to use Grid View is as simple as applying a few attributes on the input elements of the form. Following along with the video below to learn out to set up Grid View.
Documentation
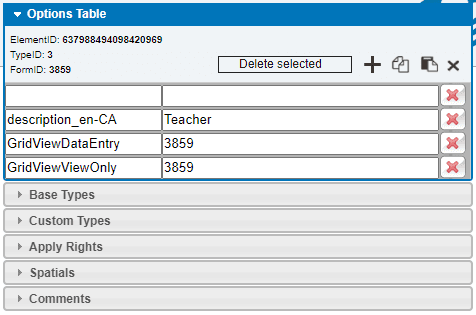
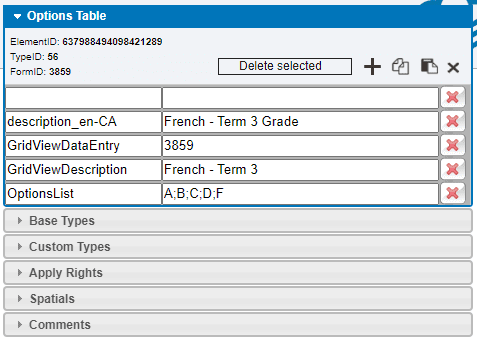
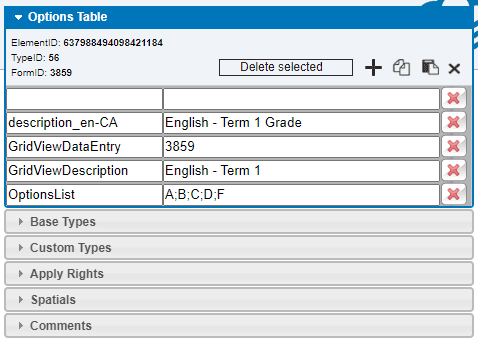
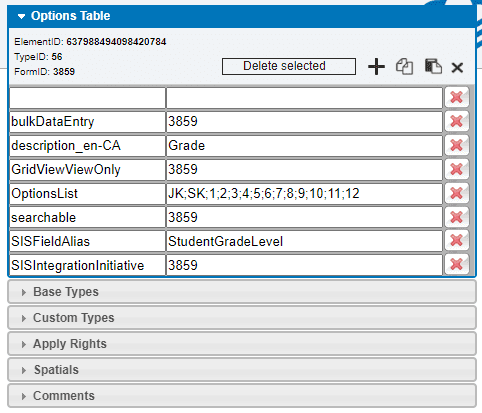
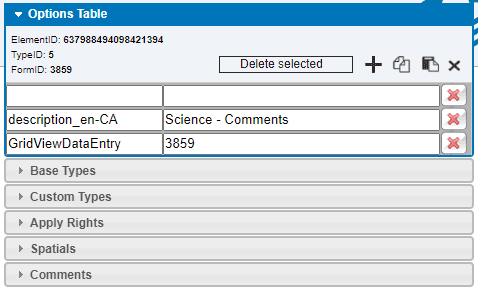
Grid View is primarily set up with by applying the “GridViewDataEntry” attribute to an element, with the value of the formID.
An element being set up for Grid View should always have a description attribute applied, along with possibly a GridViewDescription attribute. If neither description attribute exists, a basic default column header “<ElementId#>” will be used.
Attributes
| Name | Value | Description |
|---|---|---|
| GridViewDataEntry | FormID | GridViewDataEntry is the primary attribute used to flag an element to appear as an column in Grid View. Without this element, the others will have no effect. The attribute value should be the formID.
If a form is shared, the value can be a comma delimited list of formIDs that have the element as a column in Grid View. If you see the a comma delimited list, the best course of action is to only add or remove the formID for the form you are currently working on. |
| GridViewDescription | Grid View Column Header Text | GridViewDescription allows you to apply a Grid View specific description for the element’s column header.
If GridViewDescription is not applied, the column header will default to the element’s normal description attribute. |
| GridViewViewOnly | FormID | GridViewViewOnly will make the element’s column read only in Grid View. This is best applied to demographics or identifying elements that would assist users in identifying persons in Grid View, but don’t make sense to update in bulk.
If a form is shared, the value can be a comma delimited list of formIDs that have the element as read only in Grid View. If you see the a comma delimited list, the best course of action is to only add or remove the formID for the form you are currently working on. |

