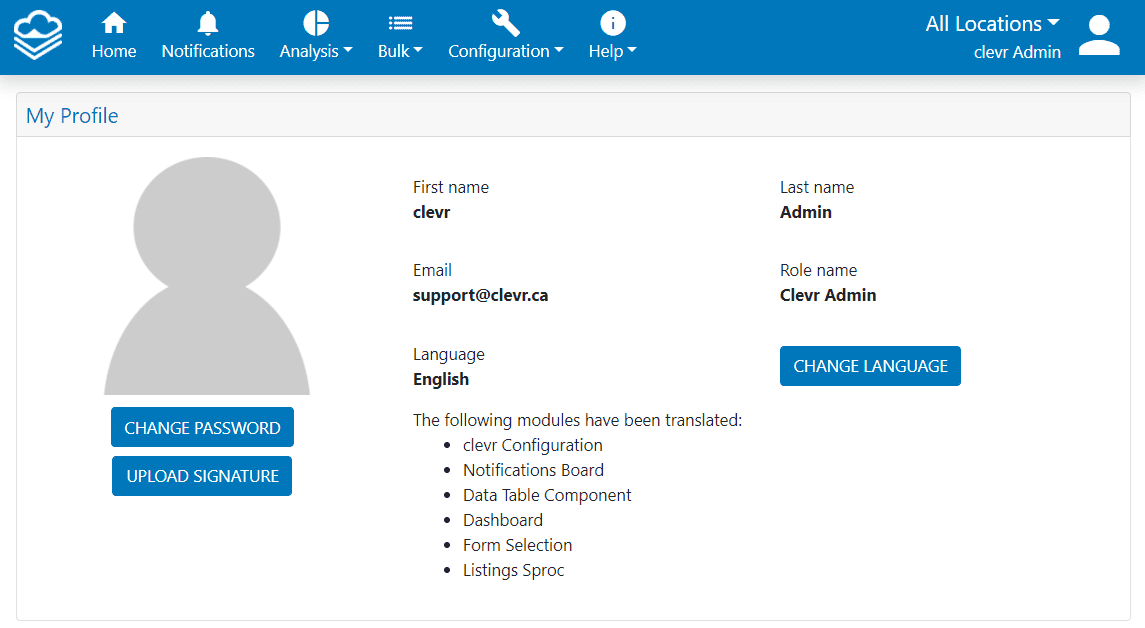
In the User Profile module you can:
-
Upload a profile image
-
Change your password
-
Change your language (English and French menus and some modules are currently translated, forms will be rendered in the language the district requested)
-
A list of modules that have been translated into French, and a view of basic account details such as name, role, and email address.
-
The ability to upload your signature
The User Profile can be accessed from the Dashboard by clicking on the icon shown below.

Upload Image
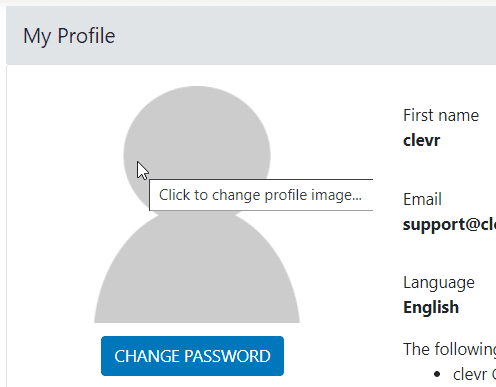
To upload an image, click on the generic profile photo icon. This will open a popup window.
Click Browse to select the image you would like to upload as your profile image, then click Upload.
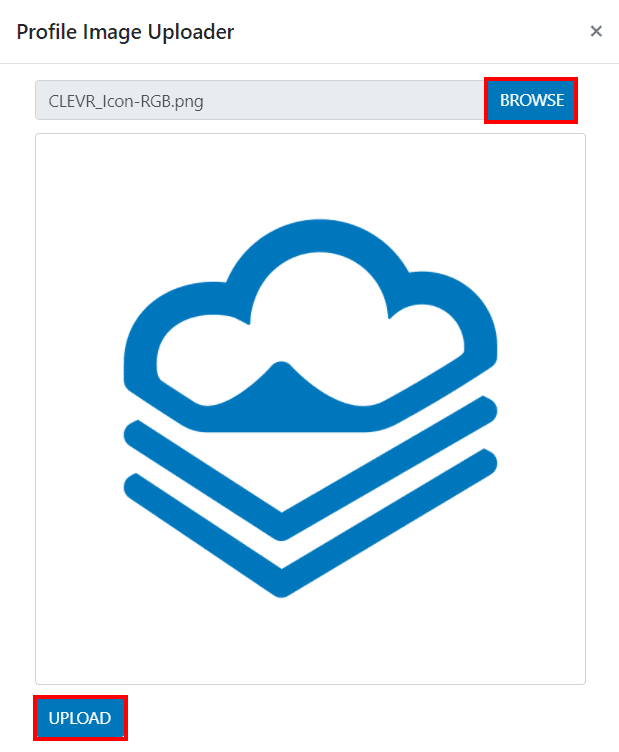
Note: clevr supports the following image formats being JPEG, JPG and PNG. The image itself cannot exceed 10MB
Change Password
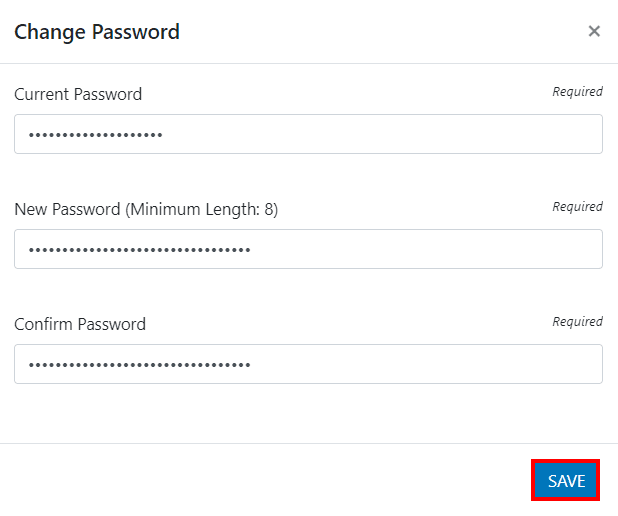
To change your account’s password, click on the Change Password button. This will open a popup window.
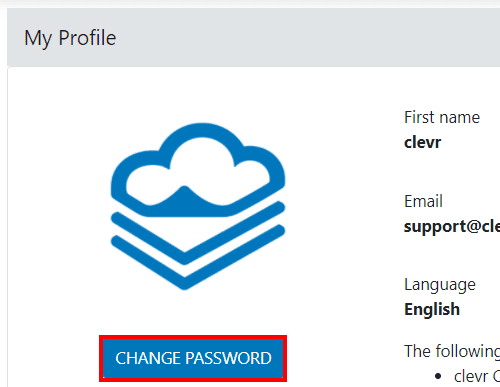
Within the popup window you will be required to verify your current password. Enter and confirm your new password, then press save.
Change Language – English & French
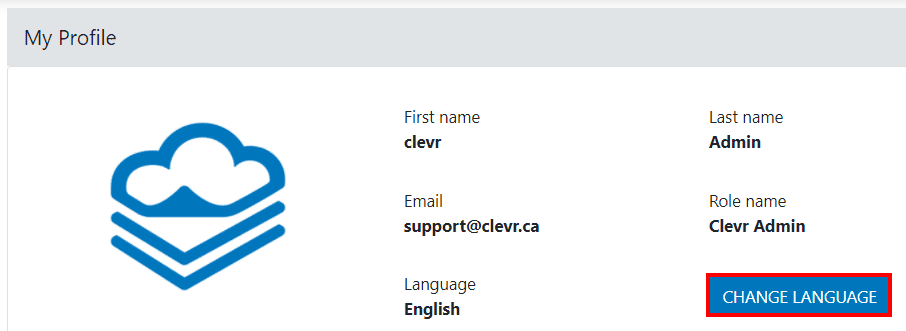
To change the language used within menus and clevr modules in your account (forms will be rendered in the language of the district’s / division’s request), click the Change Language button.
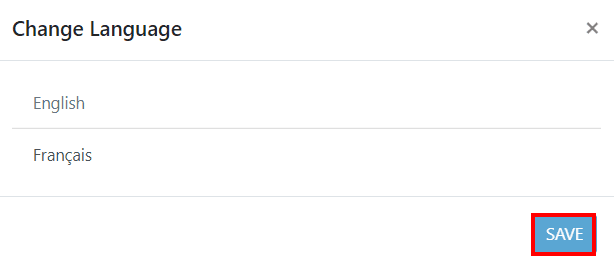
This will open a popup window where you can select between English and French. Click Save when you’ve made your selection to change the menu language.
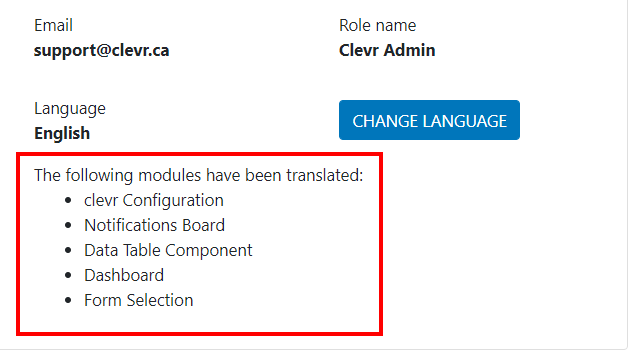
A current list of all modules currently translated into French will appear within the User Profile. All other modules will appear in English.
Upload Signature
You can now add your signature to any Report Editor printout with the click of a button!
Scan a copy of your signature and make sure as much of the white space around the signature has been trimmed off as possible.
Sample with too much white space:

Sample with trimmed white space:

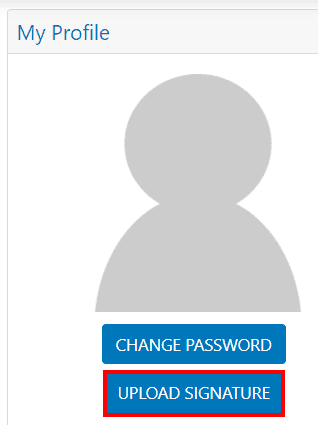
Click the “upload signature” button within the User Profile to upload your signature.
In this popup window click the choose file button and navigate to where your signature has been saved on your computer. Click the upload file button to upload it to our server. Your signature will be encrypted upon upload.

Your form will be updated to include a new Digital Signature section. A Digital Signature differs from an Electronic Signature – an electronic signature is a way to attach an image of your physical signature to a printout, an electronic signature is a way to sign a form. Check the checkbox on the Digital Signature section on the form. This will populate your name into the name field.

Click the print button and the signature will be attached to your printout.

